
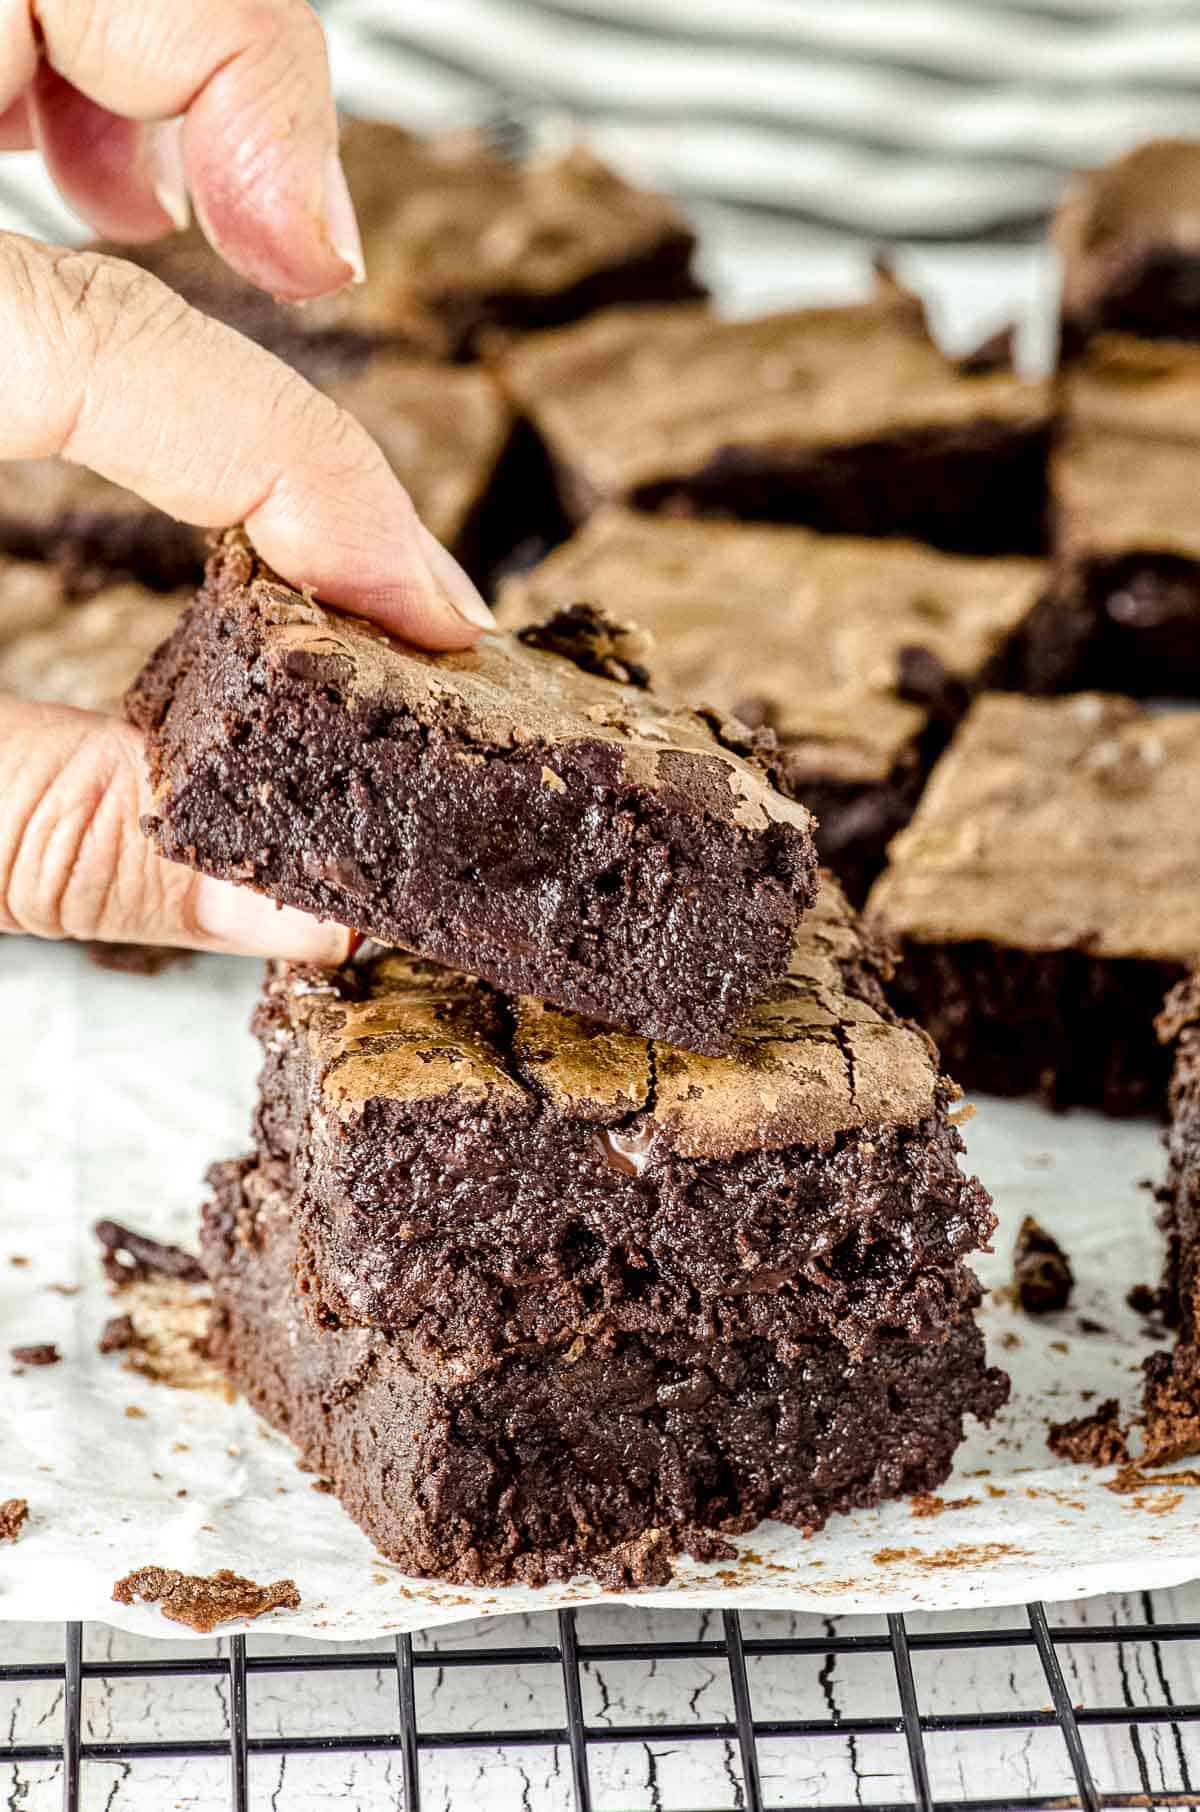
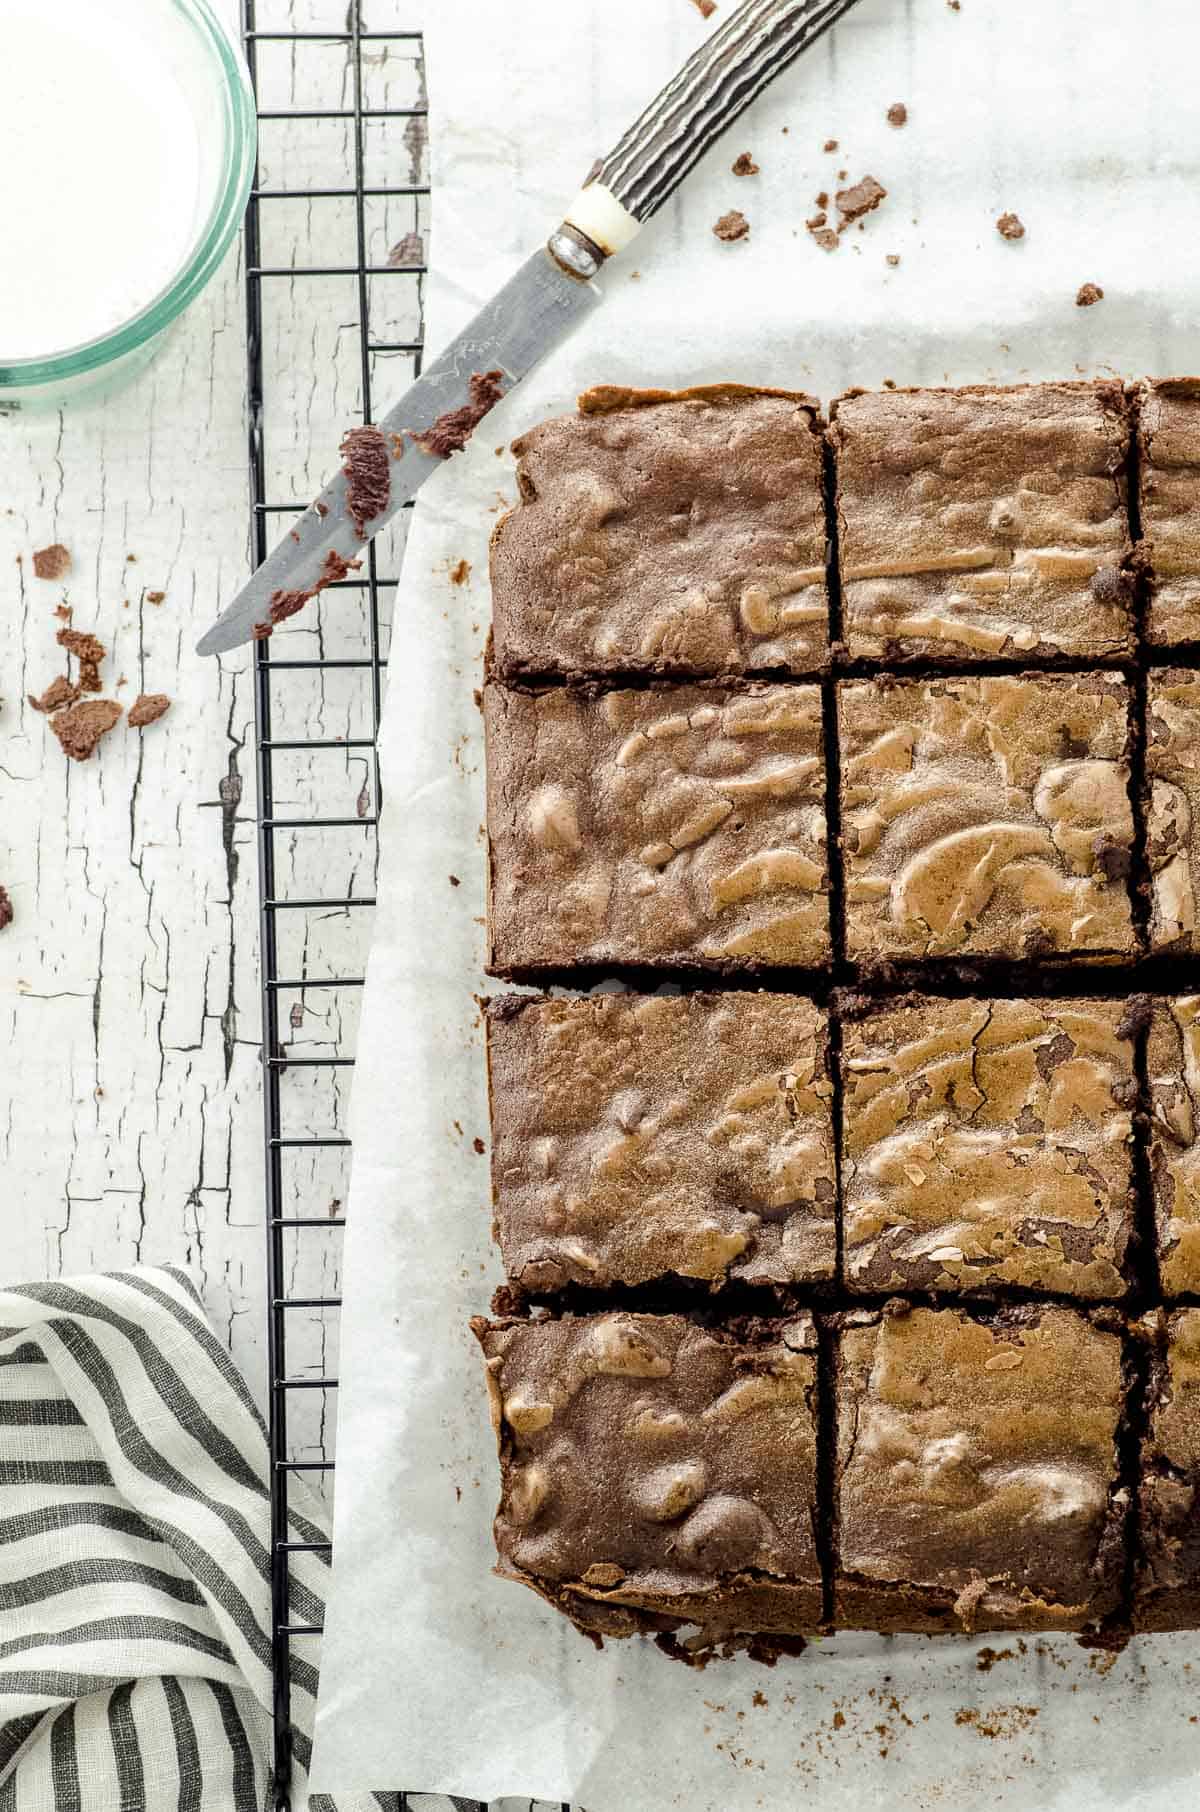
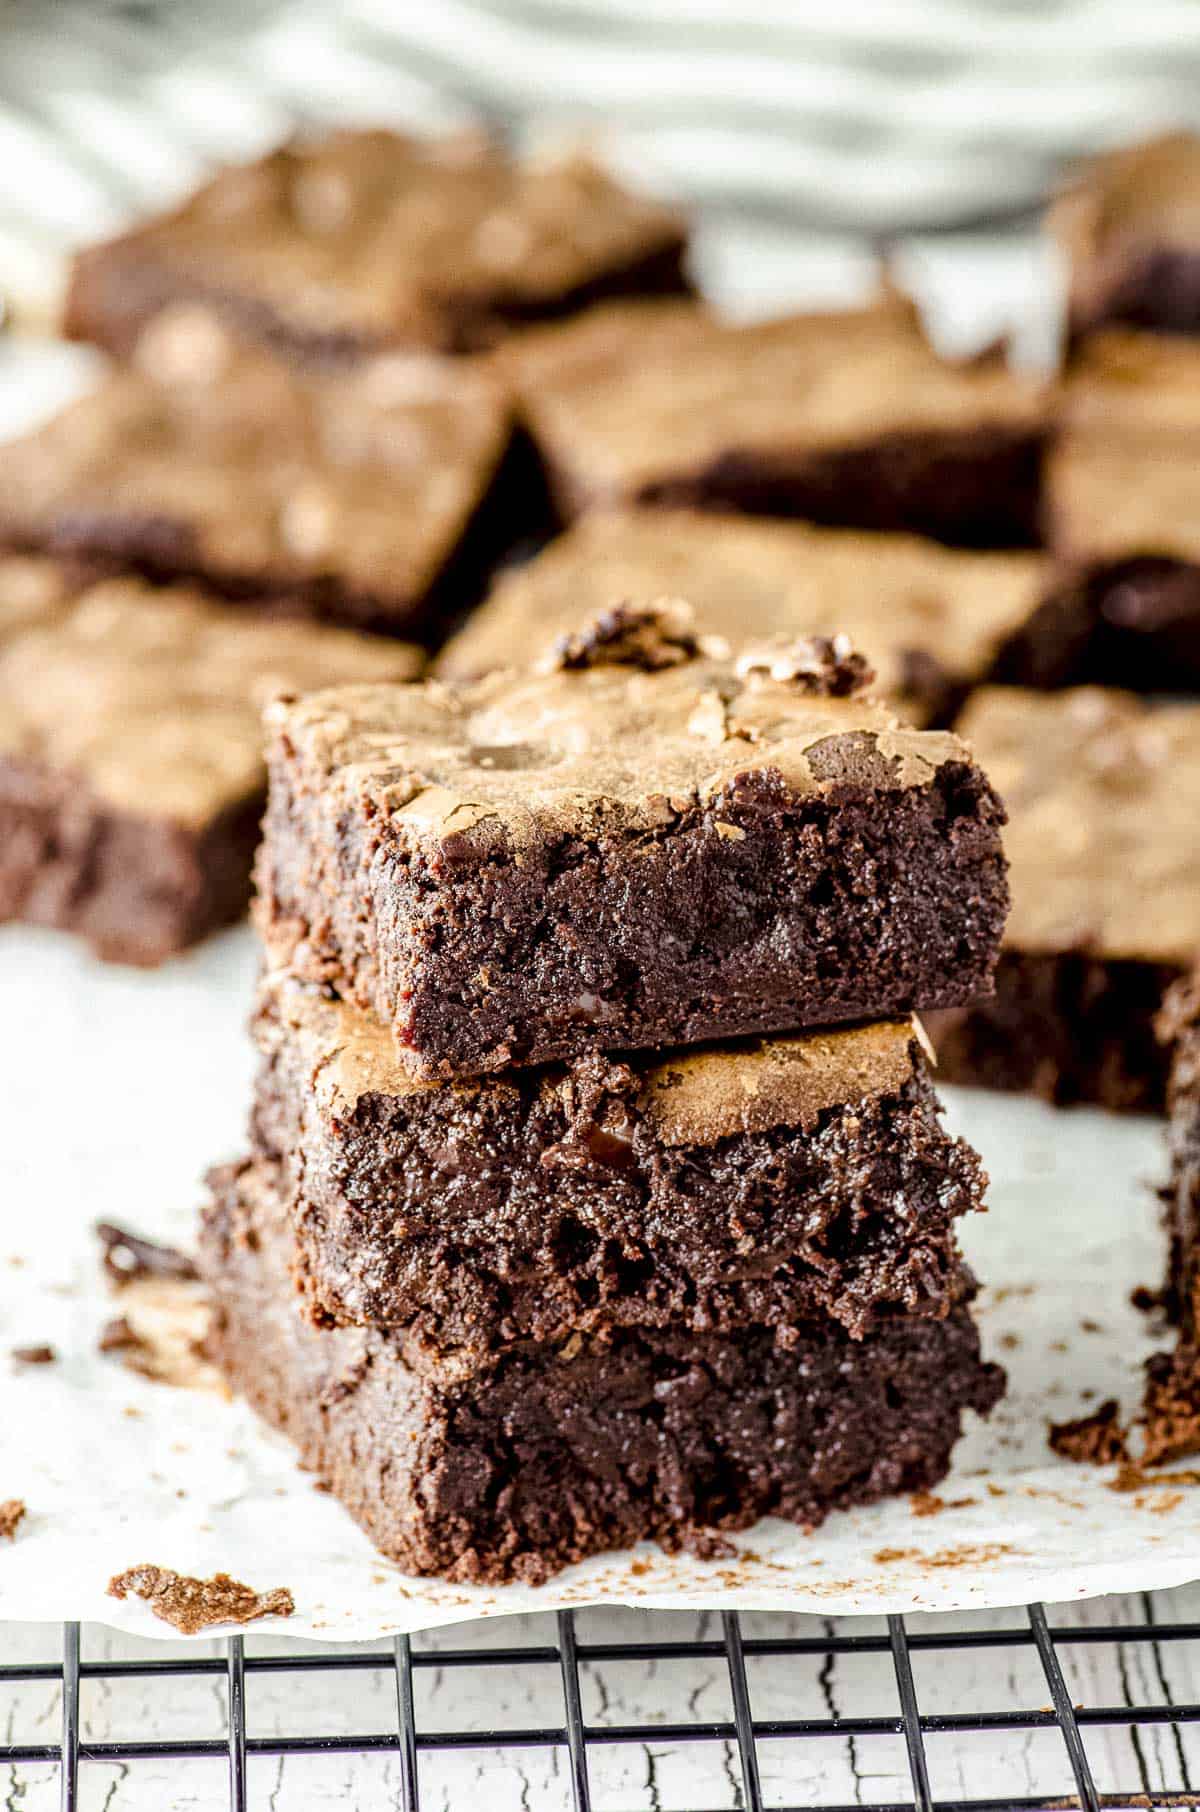
Chocolate lovers, it's time to celebrate! Ready to bite into rich, gooey, fudgy gluten-free brownies with a delightfully crackled top? We certainly hope so! Let's get started on how to make these incredible flourless gluten-free homemade brownies from scratch.
Meet the Ingredients: The All-Stars of Gluten-Free Brownies
Here are the ingredients that will make your homemade brownies absolutely divine:
- Chocolate or chocolate chips: The heart and soul of any brownie recipe! Use good quality chocolate for the ultimate taste sensation. We like
- Almond butter: We're replacing regular butter with this nutty, creamy delight. It adds a subtle, rich flavor to your brownies.
- Sugar: A necessary sweetness to balance the bitterness of the cocoa and espresso powder.
- Eggs: They will give your brownies that delectable fudgy texture we all know and love.
- Cocoa powder: Because there's no such thing as too much chocolate, right?
- Espresso powder: A secret ingredient that enhances the chocolate flavor, making it bolder and more intense.
- A pinch of salt: Just a little sprinkle to elevate all those heavenly flavors!
Remember, you can also use peanut butter or tahini instead of almond butter, depending on your taste preference or what's available in your pantry. The key here is to use a freshly opened jar so it's super creamy and blends well with the melted chocolate.
How to Make These Fudgy Chocolate Brownies
- Hey there, let's get that oven preheated to 350ºF and grab an 8x8 baking pan to line with parchment paper, alright?
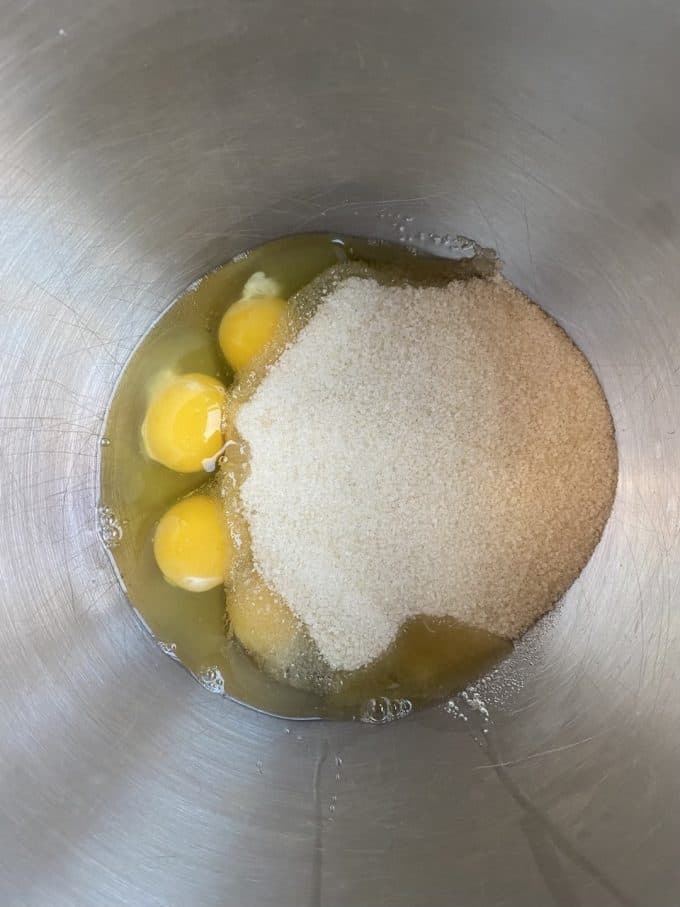
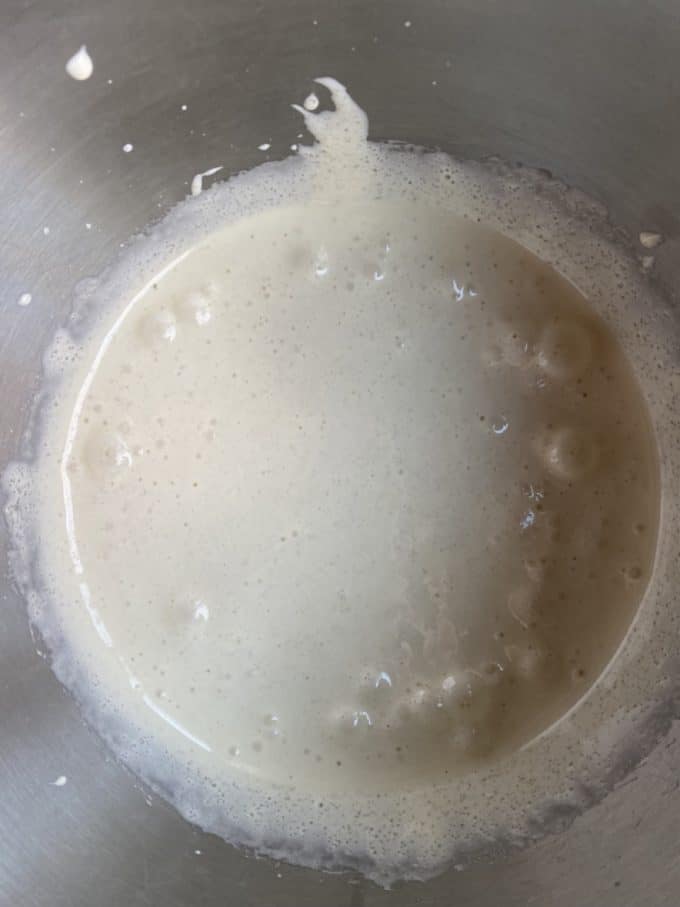
- Next up, take your trusty stand-up or hand mixer and whisk those eggs and sugar together on medium-high speed for about 5 minutes. You'll know it's ready when it turns a lovely pale yellow, doubles in size, and becomes all light and fluffy.
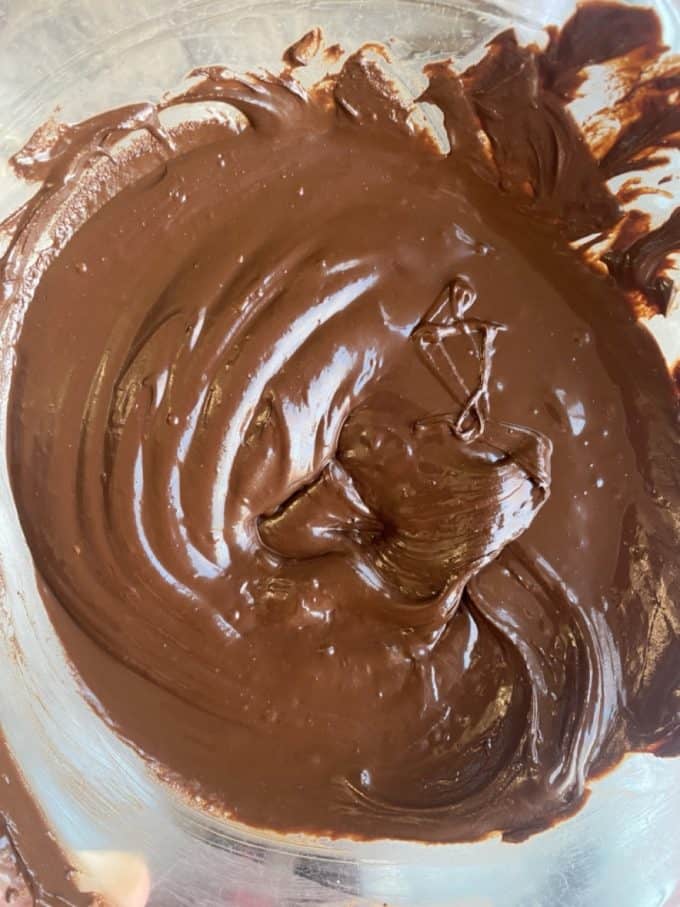
- Now for some chocolatey goodness: Melt the chocolate chips and almond butter in the microwave, giving it a good stir every 20 seconds or so. Keep at it until it's nice and melted. Or, if you prefer the old-fashioned way, you can totally use the double boiler method instead.
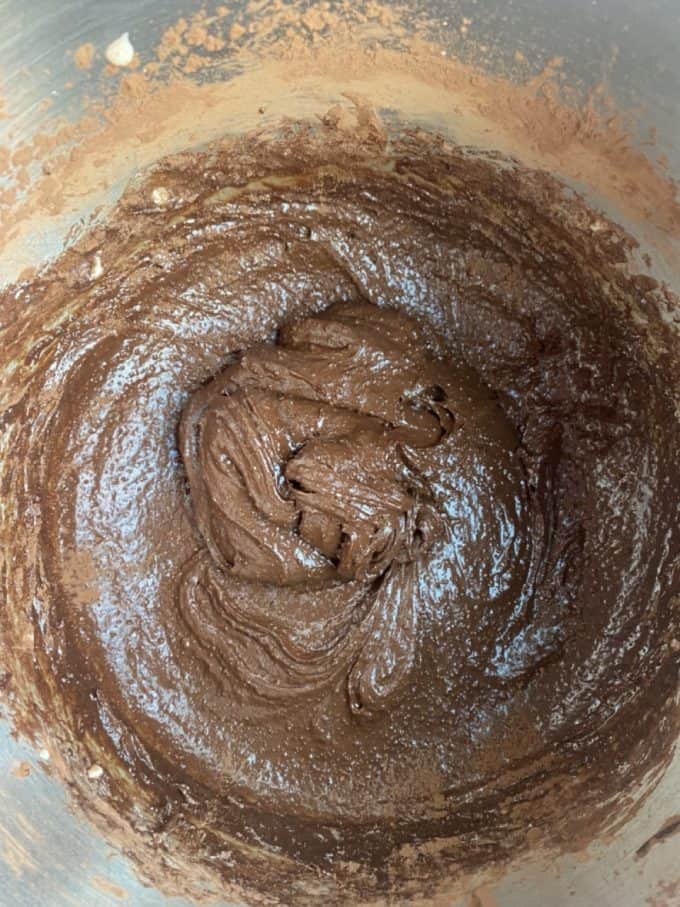
- Once your chocolate is all warm and melty, go ahead and add it to the egg mixture, whisking until it's all combined. Then, toss in the cocoa powder, espresso powder, and salt, giving it a good mix until everything's blended together.
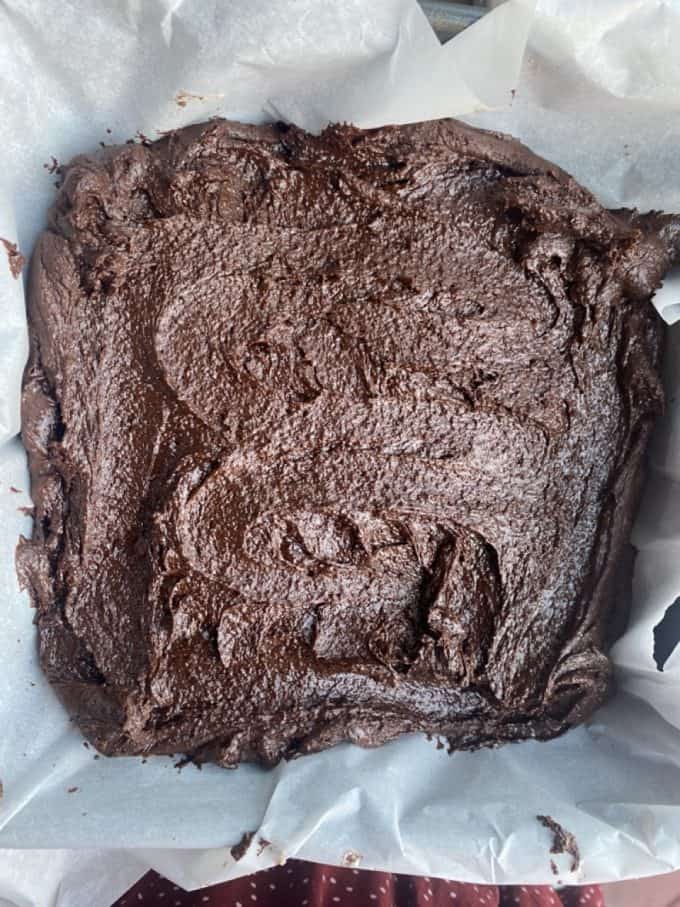
- Alright, we're almost there! Pour that mouth-watering chocolate brownie mixture into your prepared baking pan and pop it in the oven for 25 minutes.
- After they're baked, the hardest part comes: waiting. Let the brownies cool completely before cutting them. Trust me, it'll be worth it!
Pro Tips for Brownie Perfection
Now that you've got the recipe down, let's talk about some expert tips to make your brownies even more amazing!
Tip 1: The Fudgy Factor
Want extra fudgy brownies? The key is in the baking time! For a gooier, melt-in-your-mouth texture, slightly underbake your brownies. Keep an eye on them and start checking at around 25 minutes. Remember, they'll continue to cook a bit as they cool, so don't worry if they're a tad undercooked in the center. The brownies will also firm up as they cool.
Tip 2: Crackly-Topped Brownie Magic
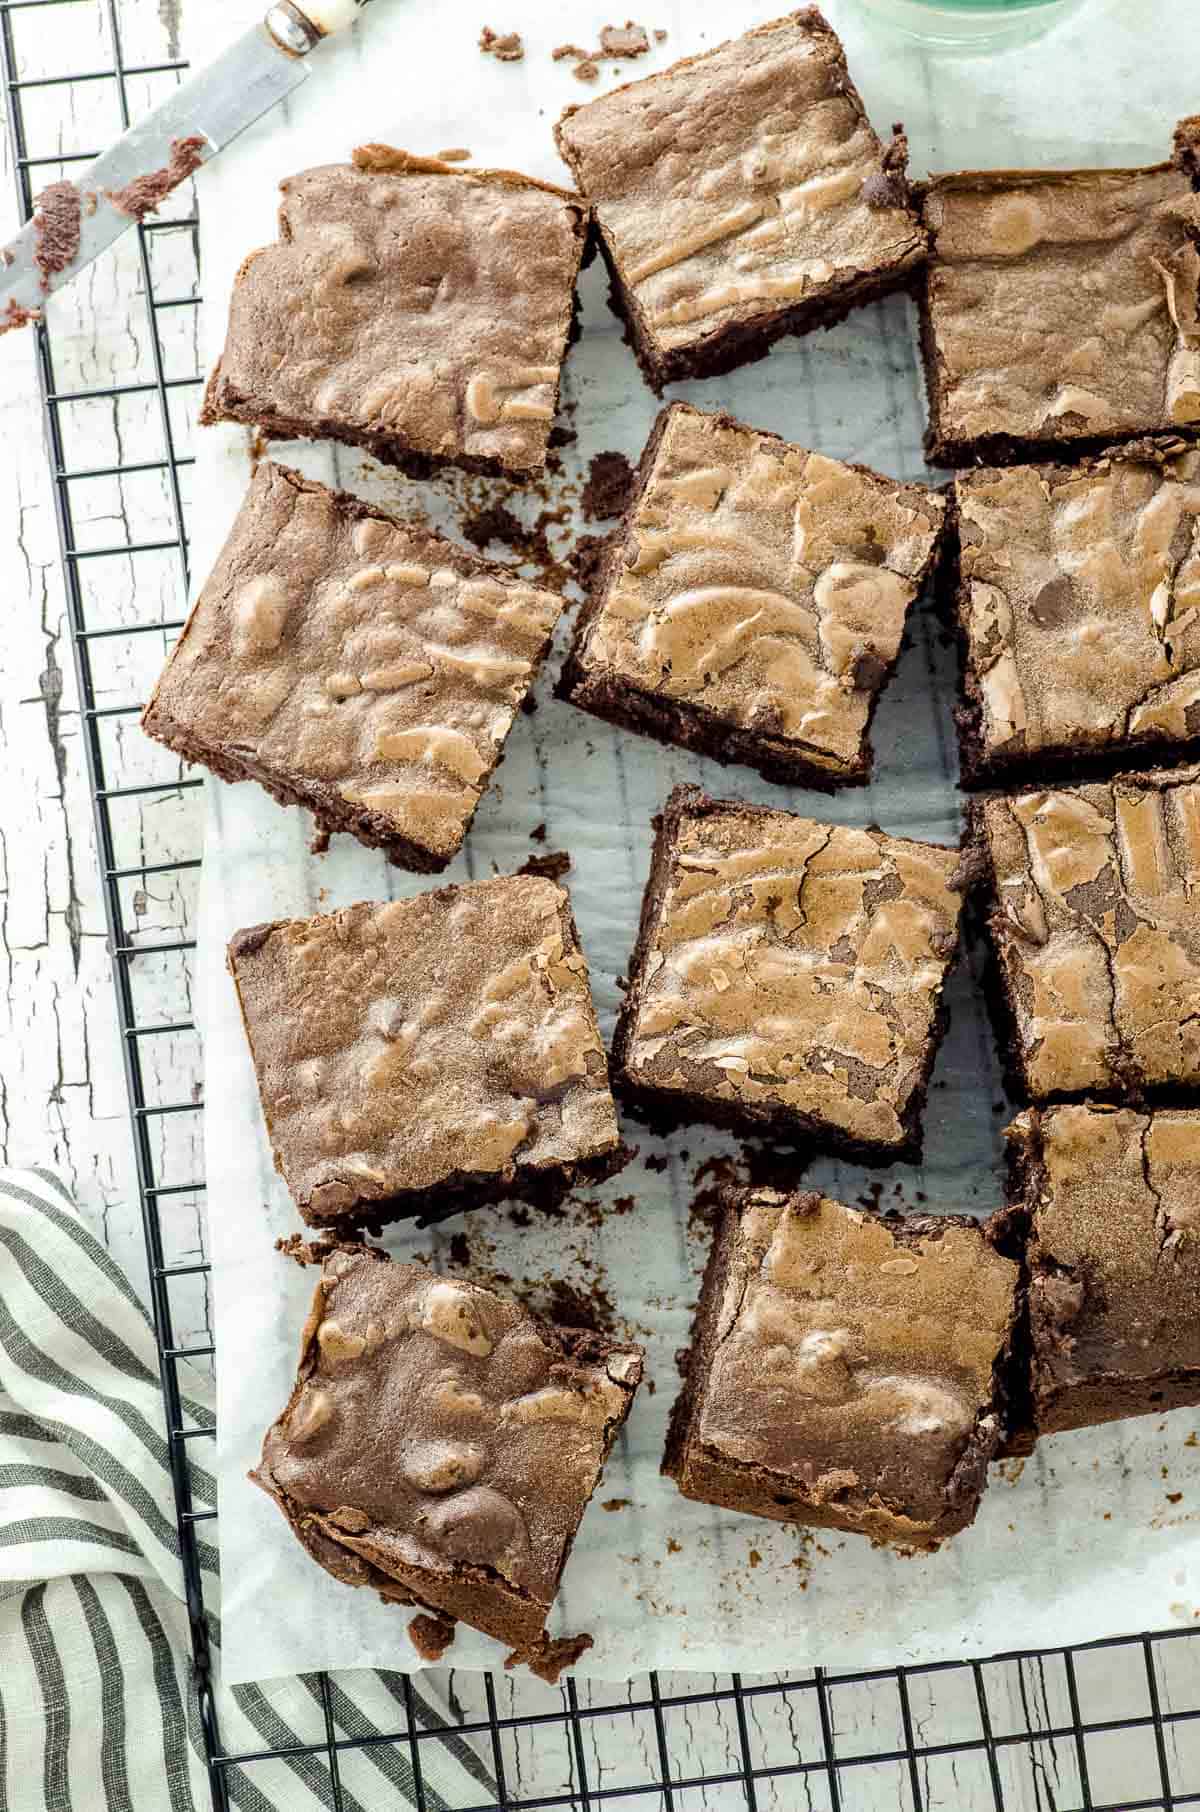
The secret to achieving that beautiful, thin, crackly top lies in whisking your sugar and eggs until they're light and fluffy. This step creates a meringue-like layer on top of your brownies, which then bakes up into that delicate, crackly crust. So, don't skimp on the whisking!
Tip 3: Customize Your Brownies
Why not add a personal touch to your homemade gluten-free brownies? Feel free to toss in some chocolate chips, nuts, or dried fruits for added texture and flavor. And if you're feeling adventurous, try swirling in some date caramel or raspberry jam for an extra burst of sweetness!
Tip 4: Cool Your Brownies for Clean Cuts
It's tempting to dive right into your freshly baked pan of gluten-free brownies, but trust us – they're worth the wait! Allow your brownies to cool completely in the pan before attempting to cut them. This will give you cleaner, more even squares (and prevent any brownie carnage in the process).
Tip 5: Sweet Potato or Flourless Brownies, Anyone?
Looking for more gluten-free brownie variations? Try experimenting with sweet potato brownies for a naturally sweet, healthier twist, or give flourless brownies a whirl for a rich, dense, and fudgy treat that's still gluten-free!
Cocoa Powder vs. Dutch Cocoa Powder
Cocoa powder is made by grinding cocoa solids from cocoa beans and comes in two varieties: natural cocoa powder and Dutch-processed cocoa powder.
Natural cocoa powder has a lighter color and a more acidic flavor profile, which can help balance out the sweetness in your brownies. Dutch cocoa powder, on the other hand, has been treated with an alkali solution to neutralize its acidity, giving it a darker color and a milder, smoother flavor. This process also results in a less bitter taste and better solubility in liquids.
So, which one should you use in your brownies? It mostly comes down to personal preference and the flavor profile you're aiming for.
- Natural cocoa powder: Choose this option if you want your brownies to have a more intense, slightly fruity chocolate flavor with a hint of acidity. The acidity in natural cocoa powder can also help produce a tender crumb in your brownies.
- Dutch cocoa powder: Opt for Dutch cocoa powder if you prefer a milder, smoother chocolate taste with a luxurious, velvety texture. This cocoa powder will produce a slightly denser brownie and a darker color, giving it a more decadent appearance.
In our gluten-free brownie recipe, we used unsweetened natural cocoa powder, which will yield a rich, intense chocolate flavor. However, you can certainly experiment with Dutch cocoa powder if you prefer a milder, smoother taste. Just be aware that the final product may have a slightly different texture and color.
If you enjoyed this recipe, it would help us tremendously if you left us a star rating in the comments below or on the recipe card. Do you have any questions about the recipe? Do you need a swap for any of the ingredients? We are here to help, just leave us a question in the comments below.
Gluten Free Brownies
- Total Time: 40 minutes
- Yield: 16 brownies 1x
- Diet: Gluten Free
Description
Ready to bite into rich, gooey, fudgy gluten-free brownies with a delightfully crackled top? This recipe is for you!
Ingredients
- 4 large eggs
- 1 ½ cups of sugar
- 1 ¾ cup chocolate chips ( one 10 ounce bag) or chopped baking chocolate
- ¾ cup creamy almond butter or all-natural peanut butter ( see note 1)
- ⅔ cup cocoa powder
- 1 tbsp expresso powder (use instant coffee if you don't have espresso powder)
- ¼ tsp salt
- Flaky salt to top the brownies (optional)
Instructions
- Preheat oven to 350ºF and line an 8x8 baking pan with parchment paper
- Using a stand-up or hand mixer, whisk eggs and sugar on medium-high speed for 5 minutes until pale yellow has doubled in size and the egg mixture is light and fluffy.
- Melt the chocolate chips and almond butter in the microwave in 20-second increments stirring after every 20 seconds. Repeat until melted. Alternatively, you can melt the chocolate using the double boiler method.
- Add warm chocolate to the egg mixture and whisk until combined. add cocoa powder, espresso powder, and salt and mix until combined.
- Pour the chocolate brownie mixture into the prepared baking pan.
- Bake for 25 minutes, remove from the oven, and let the brownies cool completely before cutting them.
Notes
- Preferably use a new jar of almond butter, if the almond butter is too dry try mixing it well and heating it so it becomes creamy again. You can make your own almond butter by putting raw or roasted almonds in a food processor for 15 minutes. It will go from coarse to powder, to thick to creamy. Be patient.
- Prep Time: 15
- Cook Time: 25
- Category: Dessert
- Method: Baking
- Cuisine: American
Nutrition
- Serving Size: 1 brownie
- Calories: 275
- Sugar: 25.9 g
- Sodium: 57.9 mg
- Fat: 15 g
- Saturated Fat: 5.1 g
- Trans Fat: 0 g
- Carbohydrates: 32.9 g
- Fiber: 3.7 g
- Protein: 5.9 g
- Cholesterol: 47.6 mg

Leave a Reply